Calendly + Zapier
Zapier connects Calendly to hundreds of apps—like Google Sheets, Redtail CRM, and RingCentral—without any coding. Use it to automate actions after meetings are scheduled, contacts are updated, or Notetaker activity occurs.
For example, you can:
- Send Calendly contacts to your CRM automatically.
- Trigger a Slack message when someone books time with you.
- Send Notetaker meeting recaps to your CRM automatically.
- Build workflows based on meeting activity, contacts, or Notetaker updates.
Explore Zapier’s Calendly integrations or get inspired by our automation ideas.
Before you begin
Make sure you have:
- A Calendly Standard plan or higher.
- A Zapier account (free or paid).
- Admin or owner access if using group or organization triggers.
Use Zapier when the app you need doesn’t offer a direct Calendly integration. To check for available apps in Calendly, go to Integrations & apps.
How it works
Zapier uses triggers and actions to automate workflows when something happens in Calendly.
You can create zaps for:
- Meetings and event activity
- Contacts
- Notetaker activity
Available triggers
Event triggers
- Invitee Created — Fires when someone books a meeting.
- Invitee Canceled — Fires when a meeting is canceled.
- Invitee No Show Created — Fires when a user is marked as a no-show.
- New Routing Form Submission — Fires when a routing form is submitted.
- Event Canceled — Fires when an event is canceled by the host or invitee.
- Meeting Recap Created — Fires when a meeting recap becomes available.
Contact triggers
- New Contact Created — Fires when a new contact is added to Calendly.
- Contact Updated — Fires when a contact record changes.
- Contact Deleted — Fires when a contact is deleted.
Contact triggers support contacts created from booking forms, manual entry, or Notetaker activity.
Trigger scope
Scope | Applies to |
Organization | All meetings in your organization |
Group | Meetings in a selected group |
User | Meetings booked with the specific user |
Note
Only admins or owners can use group or organization triggers. “No show” triggers aren’t available for group scope.
Connect Calendly to Zapier
Follow the steps in Zapier's support article.
Set up your first zap
Step 1 – Create test data
Before testing your zap, create sample activity in Calendly. Depending on your workflow you can:
- Schedule a test meeting
- Create or update a contact
- Use Notetaker in a meeting
Zapier uses this data to test your zap setup.
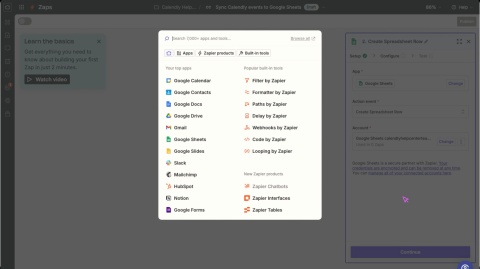
Step 2 – Create your zap
- In Zapier, select Create a new Zap.
- Choose Calendly as the app.
- Select a trigger, such as:
- Invitee Created
- Invitee Canceled
- New Contact Created
- Contact Updated
- Select Sign in to connect Calendly.
- Choose your trigger scope: user or organization.
- Select Test trigger. Zapier will use the most recent matching activity.
Tip
You can view a sample Webhook Payload here.
Use filters and paths (paid Zapier plans)
Filters
Continue the zap only when certain conditions are met:
- If invitee is “John”
- If event is “Coffee Chat”
- If UTM source is “email”
- If invitee answered “yes” or “maybe”
- If contact timezone is “PST”
- If company name matches a CRM account
Paths
Create custom actions based on:
- Invitee responses
- Meeting details
- Contact attributes
- Notetaker activity
Disconnect Zapier
You can disconnect Calendly from Zapier by going to your connected apps page in Zapier and deleting the connection.
Troubleshooting
The Zapier integration is built and supported by Zapier.
If your zap isn’t working, try the following:
- Check your Zap History in Zapier.
- Confirm your Calendly connection is active.
- Verify that recent test activity matches your selected trigger.
For additional troubleshooting or feature requests, please contact Zapier support.